Bootstrap Radio Value
Overview
Sometimes the little features happen to be the super critical considering that the whole image is really a all containing several small elements enhanced and stacked for show and check like a well-oiled bright machine. Such straight phrases might probably sound a little too much when it goes to create regulations yet assuming that you just think about it for a little bit there is certainly just a single component making it possible for the visitor to get one out of a few available possibilities. And so in case you are actually having certain forms through this kind of possibilities controls over your various websites does this suggest they will all look similar? And most importantly-- would you settle for that?
Luckily for us the latest edition of the absolute most well-known mobile friendly framework - Bootstrap 4 comes fully stuffed having a brilliant brand-new concept to the responsive behavior of the Bootstrap Radio Button regulations and what exactly is bright new for this edition-- the so called custom-made form commands-- a combination of predefined visual appeals you have the ability to simply get and utilize just to put in the so preferred these days variety in the graphical demonstrations of quite boring form features. So let's take a look just how the radio tabs are aimed to be defined and styled in Bootstrap 4. ( find more)
Steps to make use of the Bootstrap radio button:
To make a radio tab we primarily really need a
<div>.form-check.form-check-inline.radio.radio-inline.disabledIn the
.form-check<label>.form-check-label<input>.form-check-inputtype = “radio”name = “ ~ same name for all the options ~ ”id = “ ~ unique ID ~ “value=” ~some value here ~ ”disabled<input>This is likewise the location to specify in case you desire the radio control to initially load like checked when the page gets loaded. In case this is certainly what you're looking for-- as an alternative to
disabledchecked<input>checkedCheckbox and even Bootstrap Radio Inline good examples
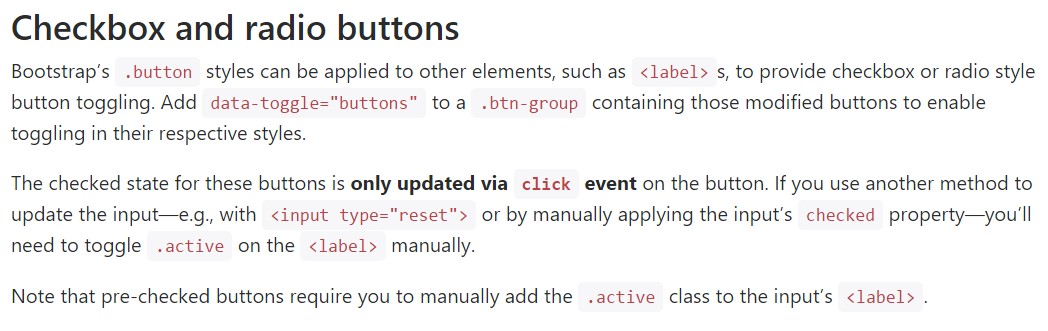
Bootstrap's
.button<label>data-toggle=" buttons".btn-groupTake note of that pre-checked buttons need you to manually include the
.active<label>Checkbox

<div class="btn-group" data-toggle="buttons">
  <label class="btn btn-primary active">
    <input type="checkbox" checked autocomplete="off"> Checkbox 1 (pre-checked)
  </label>
  <label class="btn btn-primary">
    <input type="checkbox" autocomplete="off"> Checkbox 2
  </label>
  <label class="btn btn-primary">
    <input type="checkbox" autocomplete="off"> Checkbox 3
  </label>
</div>
Radio

<div class="btn-group" data-toggle="buttons">
  <label class="btn btn-primary active">
    <input type="radio" name="options" id="option1" autocomplete="off" checked> Radio 1 (preselected)
  </label>
  <label class="btn btn-primary">
    <input type="radio" name="options" id="option2" autocomplete="off"> Radio 2
  </label>
  <label class="btn btn-primary">
    <input type="radio" name="options" id="option3" autocomplete="off"> Radio 3
  </label>
</div>
Radio button opportunity
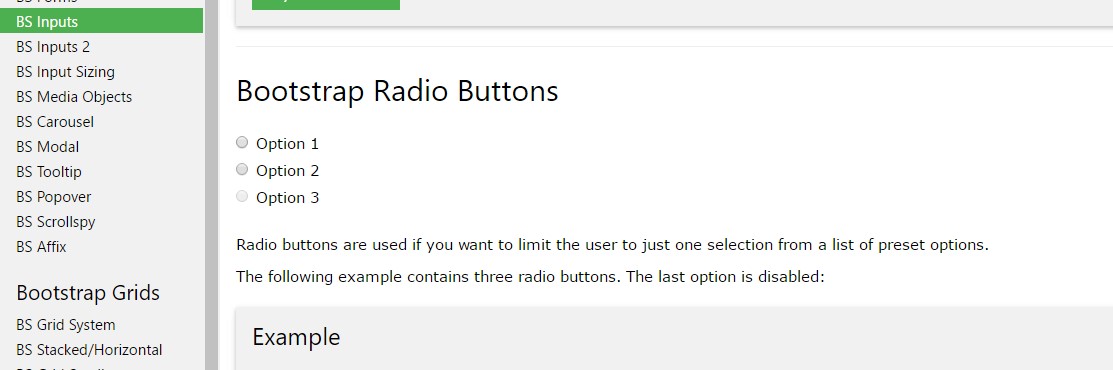
We may choose input features of the radio style while we want the user to pick just one of a series of opportunities. ( useful content)
As soon as there is much more than a single component of this particular form through the same value with the name attribute, only one can possibly be chosen.

<div class="row">
  <div class="col-lg-6">
    <div class="input-group">
      <span class="input-group-addon">
        <input type="checkbox" aria-label="Checkbox for following text input">
      </span>
      <input type="text" class="form-control" aria-label="Text input with checkbox">
    </div>
  </div>
  <div class="col-lg-6">
    <div class="input-group">
      <span class="input-group-addon">
        <input type="radio" aria-label="Radio button for following text input">
      </span>
      <input type="text" class="form-control" aria-label="Text input with radio button">
    </div>
  </div>
</div>
Final thoughts
Primarily this is the way the default radio switches get identified and perform throughout in Bootstrap 4-- in a moment all you really need are certain possibilities for the visitors to pick from.
Inspect some online video tutorials regarding Bootstrap Radio Button:
Related topics:
Bootstrap buttons authoritative documents
Bootstrap Radio button - short training
Checkbox radio buttons break entire toolbar styling
